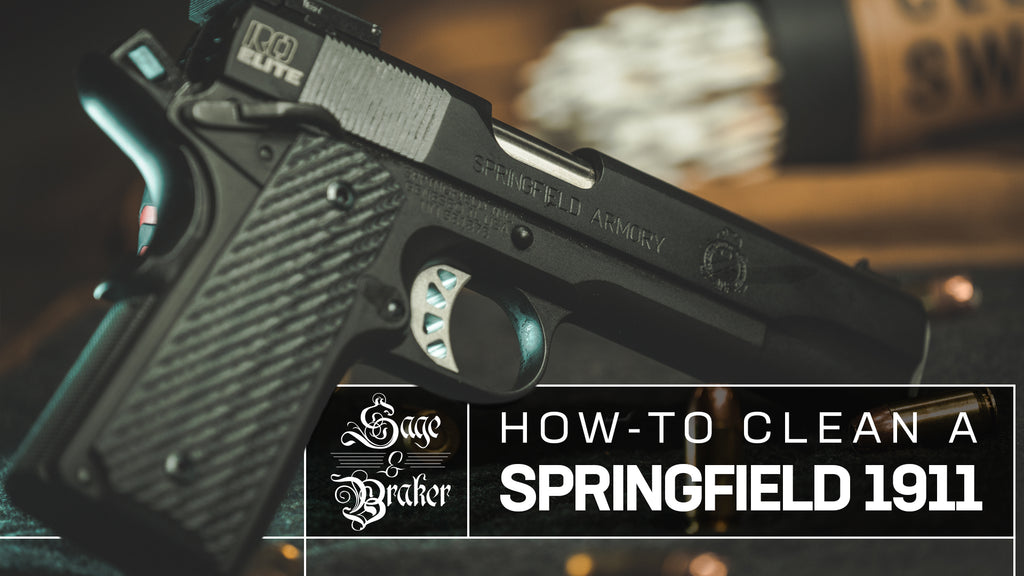
Springfield 1911 A1

A step by step video on how to disassemble and clean your Springfield 1911 A1 handgun.
RECOMMENDED GUN CLEANING SUPPLIES FOR YOUR GUN CLEANING KIT
STEP ONE - MAKE SURE YOUR PISTOL IS UNLOADED
We’re dealing with a potentially deadly weapon here, so please, make sure that the magazine is out and the gun is unloaded before attempting to clean it. Once you’re sure of that, lower the slide back down.
STEP TWO - DISASSEMBLING YOUR SPRINGFIELD 1911
1. To start disassembling, push down on the recoil spring plug with your thumb.

2. Point it away from your face as you rotate the barrel bushing clockwise.

3. Slowly let the tension out of the spring and then set the recoil spring plug to the side.

4. You can now take the spring out.

5. Rotate the barrel bushing counter clockwise until it stops. You can now take it out and place it to the side.

6. Next move the slide so the disassembly notch lines up with the slide stop like in the example here.

7. At this point you can remove the slide stop.
8. Now simply push the slide forward.

9. Take out the recoil spring guide.

10. Push the barrel out of the front of the slide.

STEP THREE - APPLY CLP TO YOUR SPRINGFIELD 1911
Now that you have all your parts laid out, grab some sort of gun parts tray to put them in so that you can soak them in some CLP while also keeping them organize and from getting lost.

1. The CLP is going to be doing the heavy lifting in the gun cleaning department, so after placing everything in your gun cleaning tray, give all parts a thorough spray down. Be sure to spray some down both ends of the bore as well.

Essentially, if it’s made of metal, you want to spray it down. This includes the frame of course. You'll want to let the CLP do its magic for ten minutes or so.
STEP FOUR - CLEANING YOUR SPRINGFIELD 1911
1. Grab some gun cleaning brushes next. This is how you’re going to really break up the carbon and other gunk that may have collected in your handgun.
You’ll want to get all the parts in the tray, being sure to scrub all surfaces. If it looks dirty, clean it. There is no secret to it, get to work and get all the parts. We won’t show ever brush stroke here.

However do pay special attention to the breech face. Also be sure to get inside the frame, paying attention to the rails.

2. Next you'll want to grab some gun cleaning swabs. There are places that your gun cleaning cloth just won’t be able to reach. This is where the swabs come in handy. Get all the hard to reach areas.

The ones with a pointed end are extra helpful as they can get to areas nothing else can.
3. Now get a durable gun cleaning cloth. Stay away from paper towels as they tear easily and can leave little pieces of itself in your gun. Something that is tough and reusable is ideal.

Be sure to get all the CLP off of all the parts and then move on to the next part.
4. Last but not least we’re going to clean your 1911’s bore. Grab a bore cleaning kit of the appropriate caliber. Ours is chambered in a .45 so that’s what we’ll use. Send the bore cleaning kit down the breech end of the bore. Pull it through. Often one time through is enough.

STEP FIVE - LUBRICATING YOUR SPRINGFIELD 1911
Now, before reassembling your Springfield 1911, you’ll want to lubricate it. A little CLP in the frame, a little on the barrel and some on the slide.

STEP SIX - REASSEMBLING YOUR SPRINGFIELD 1911
1. Take the barrel and push the barrel link forward. You can now replace the barrel, breech end first into the front of the slide.

2. Place the recoil spring guide back on the barrel. There is a concave face that you will want to make sure is the side that lays down on the barrel.

3. After that, insert the slide on the frame.

4. Push it back so the disassembly notch lines up with the square hole of the the slide stop.

5. At this point you can reinsert the slide stop, but first you’ll need to push the barrel in or out to get the hole in the barrel link to line up.

6. Insert and rotate the slide stop counter clockwise and push down to set it into place.

7. You can now move the slide forward in order to engage the safety. This will help make the rest of the reassembly easier.
8. Now reinsert the barrel bushing in the position shown.

9. Once you can push that down, rotate it clockwise until it stops.

10.Now take the spring and insert it, flat end in first.

11. Take the recoil spring plug and insert it over the spring.

12. Push it down and rotate the barrel bushing so it catches the edge of the plug.

13. Press the plug down a little further and rotate the bushing until it is seated.

14. Release the safety and rack the slide a few times to make sure everything feels smooth.
15. Wipe down any excess CLP on the exterior of the gun.

And there you go, a cleaned and lubricated Springfield 1911.
